From Zero to Quiz App Hero Create an AWS Amplify Quiz App in Minutes


Photo by Nguyen Dang Hoang Nhu on Unsplash
Introduction
Hello folks, In this blog, we take a step-by-step approach to building a quiz application with AWS Amplify. You will learn how to leverage these tools to simplify your data handling and make your work more efficient.
Prerequisite
Knowledge of Nextjs Framework
Knowledge with Typescript
Basic Understanding of Aws
Brief Overview of AWS Amplify
AWS Amplify is a development platform provided by Amazon Web Services (AWS) that simplifies the process of building and deploying web and mobile applications. It offers tools and services that enable developers to create scalable and secure applications quickly.
key features and components of AWS Amplify:
Here are some cool key features that make AWS Amplify great for web and mobile development.
Backend-as-a-Service (BaaS): Amplify provides a backend infrastructure for your applications, including features like authentication, storage, APIs, databases, and serverless functions. It supports popular technologies like GraphQL and REST APIs.
Authentication and Authorization: Amplify offers built-in authentication and authorization capabilities, allowing you to easily add user sign-up, sign-in, and access control to your applications. It supports various authentication methods such as email/password, social logins, and multi-factor authentication.
APIs: Amplify enables you to create APIs for your applications using GraphQL or REST. It integrates with AWS AppSync for GraphQL APIs and AWS API Gateway for RESTful APIs, making it easy to define and deploy your application's backend APIs.
And many more features to explore you can check the Amplify doc for more information.
So without further ado let get build our quiz application.
Setting up the Dev Environment
If you are new to AWS, you can refer to this for creating your account on AWS
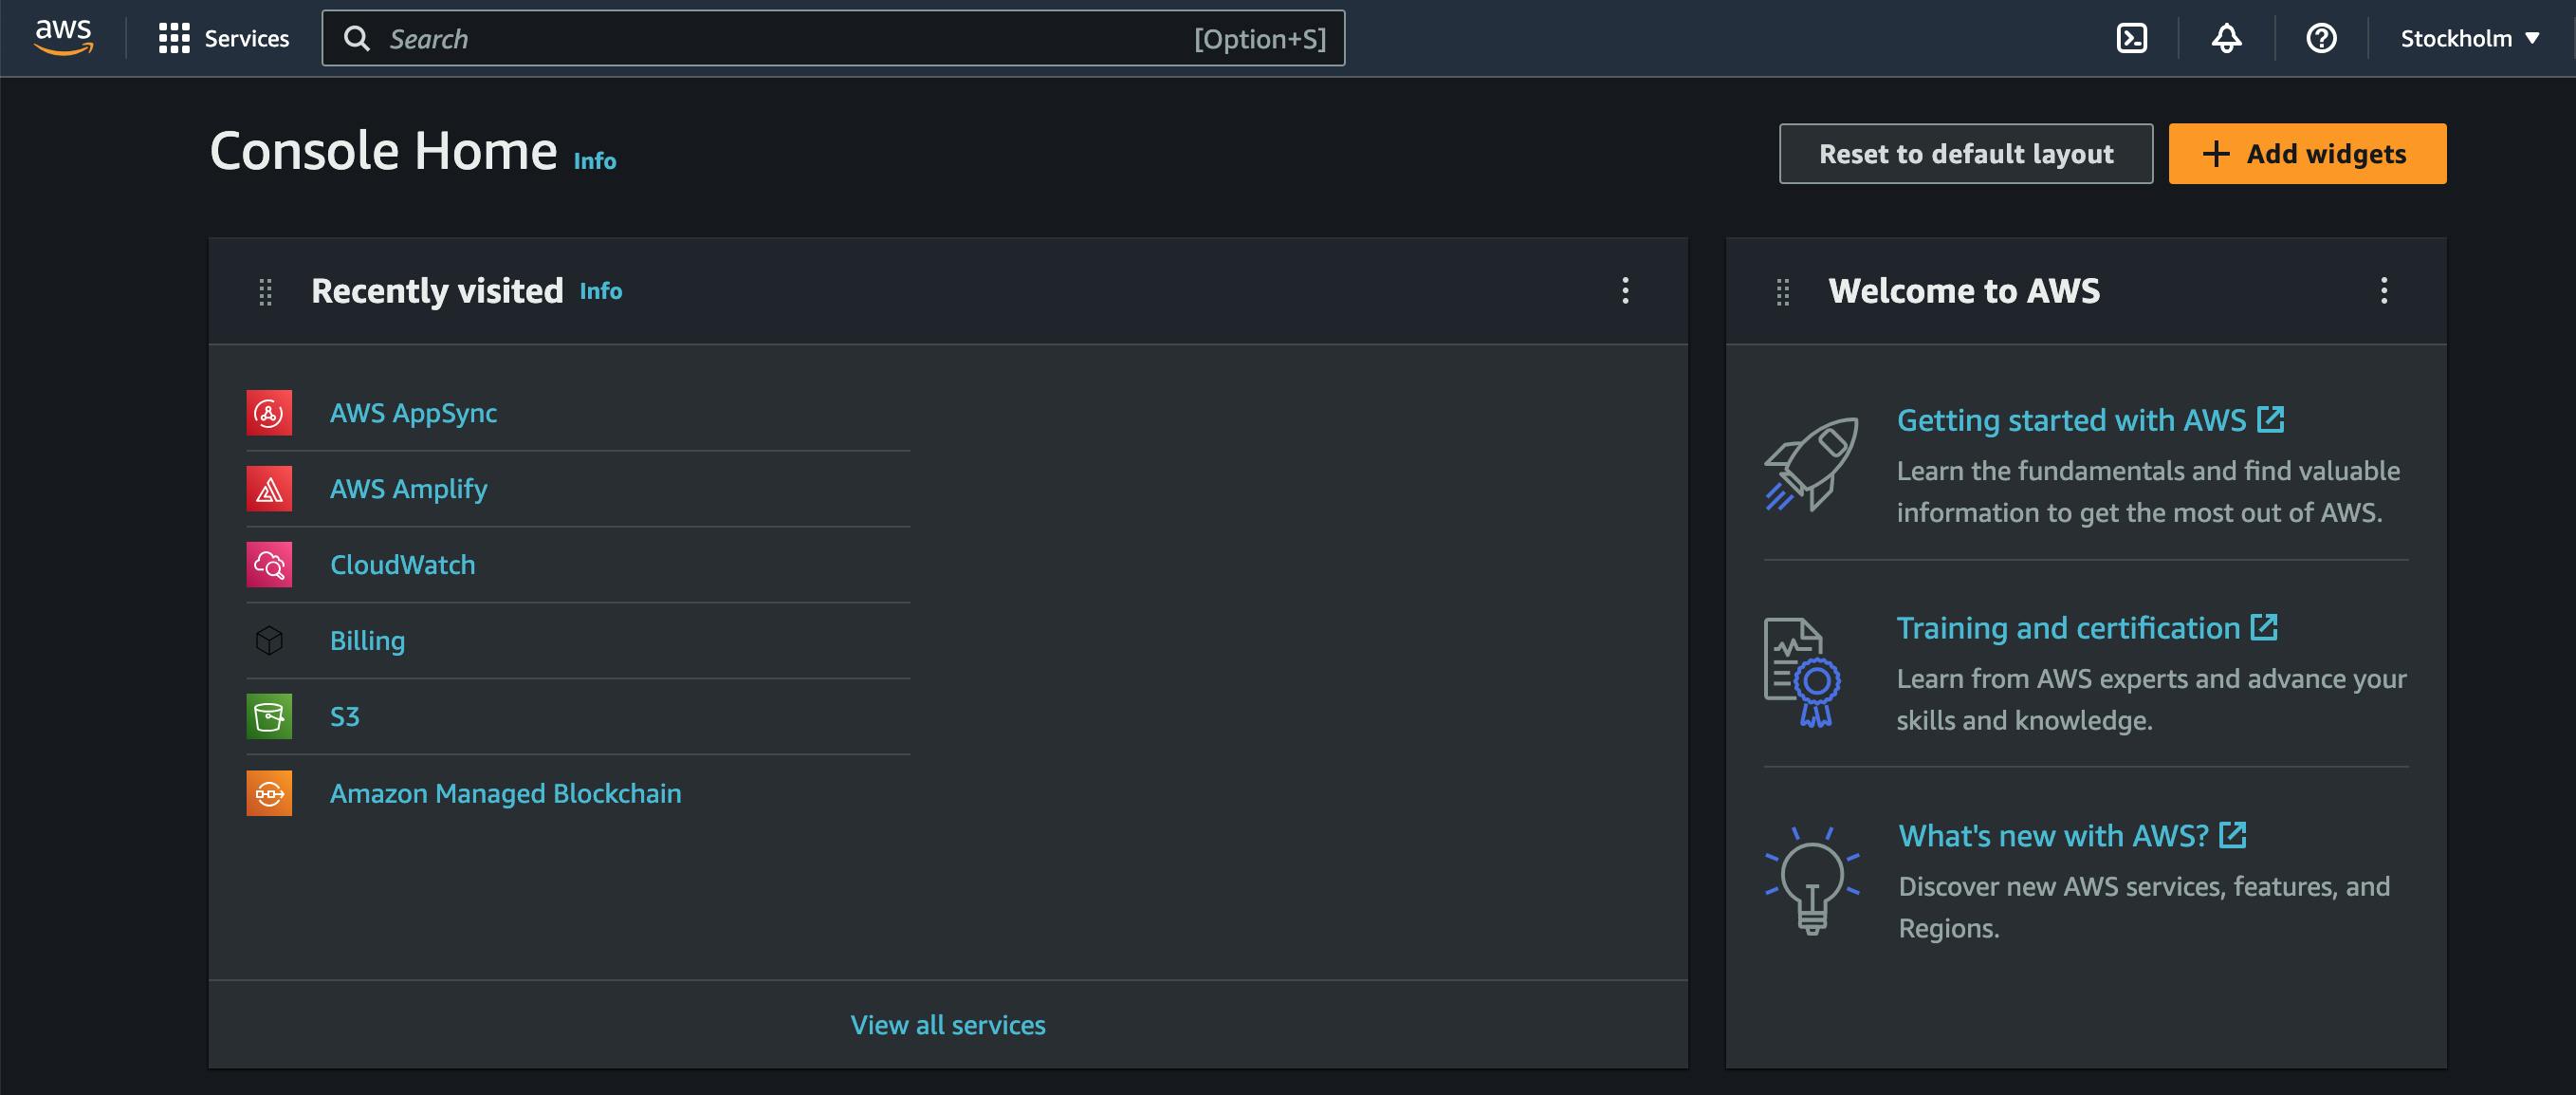
- Go to the AWS console and search Amplify.
- Click on the New App button to create a new Amplify App.
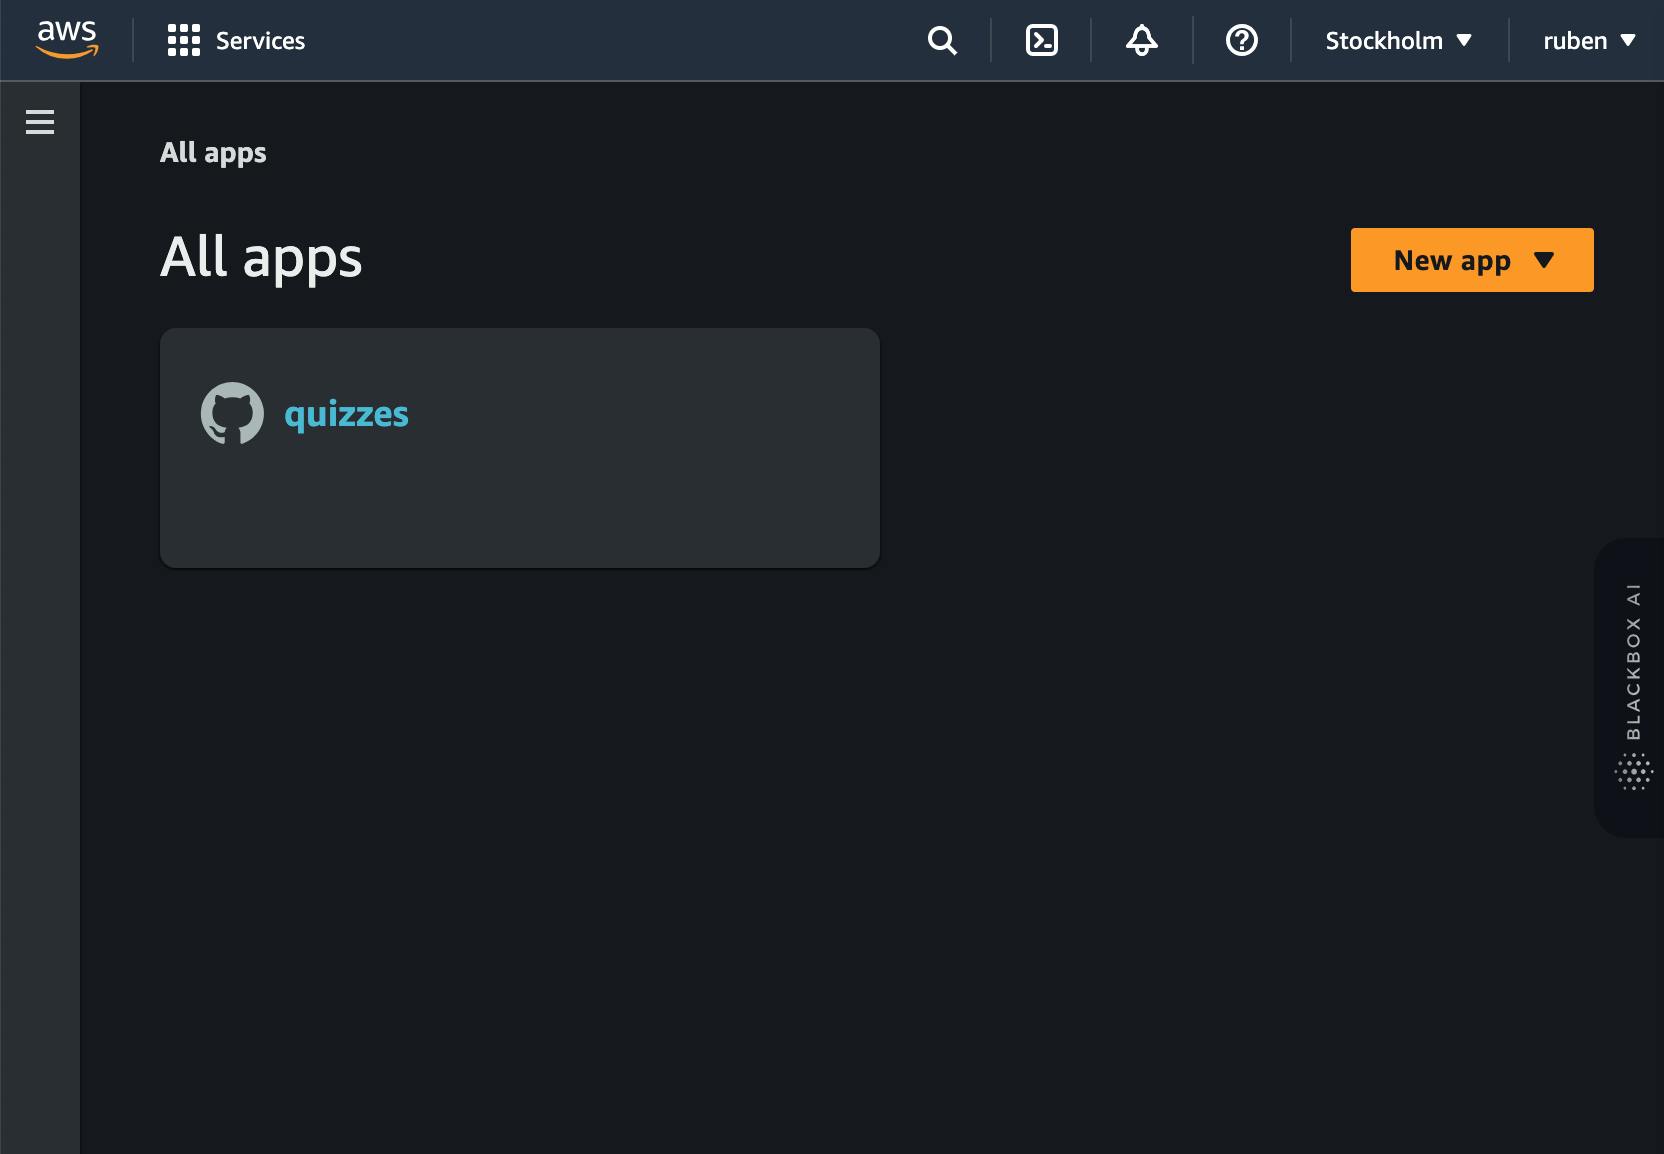
- Name your App and click on deploy.

- Lunch The Amplify Studio.
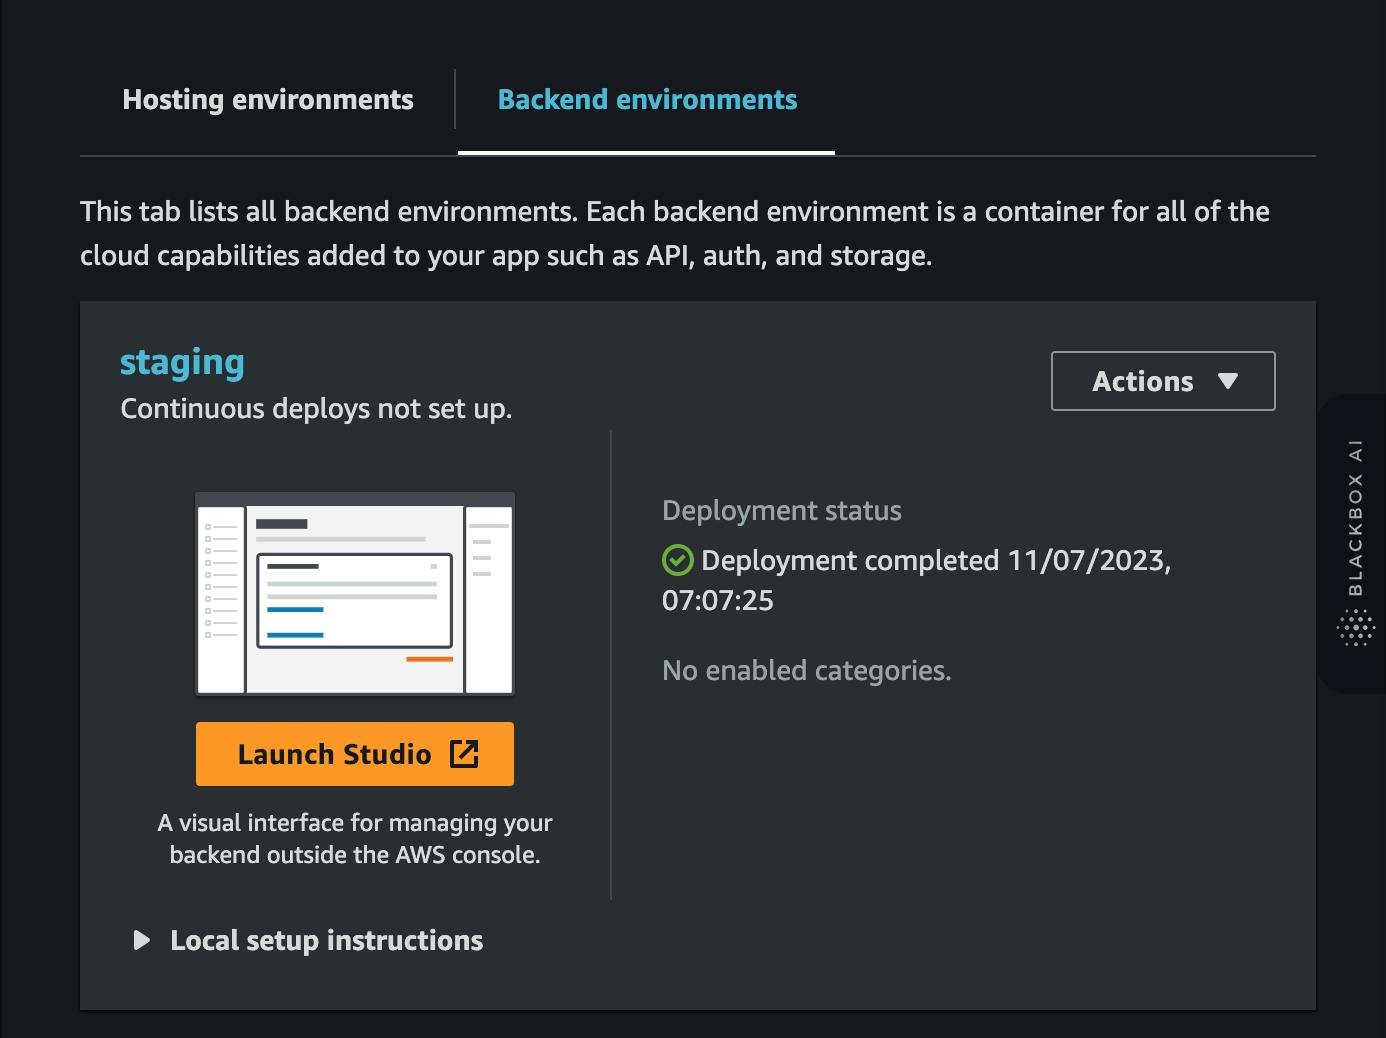
- The next step is to setup the quiz data model for the application
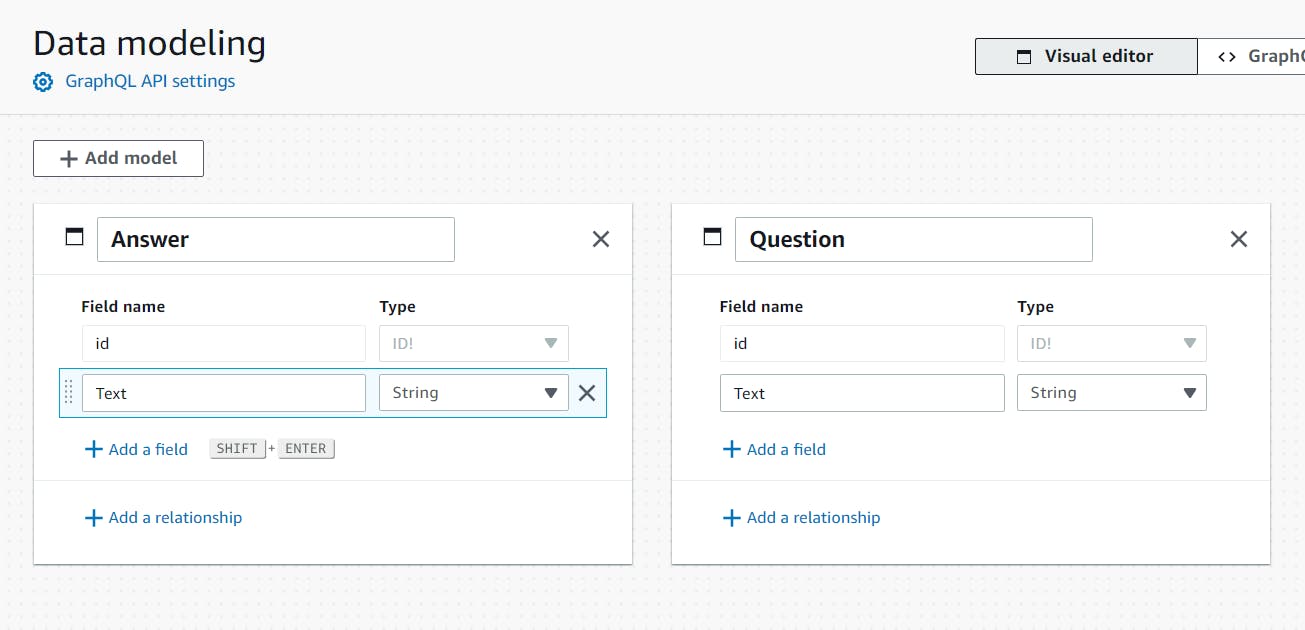
Designing the Quiz Data Model
In a typical scenario, a Question model often consists of the main question itself, multiple answers associated with the question, and a single accepted answer among those responses. To represent this relationship, you would use a many-to-many relationship between the Question and Answer models while establishing a one-to-one relationship between the Accepted Answer and Answer models. Here's an improved version of the sentences:
"A typical Question model encompasses the main question, multiple answers linked to the question through a many-to-many relationship, and a single accepted answer associated with the Answer model through a one-to-one relationship."

To establish the one-to-one relationship between the Question model and the Answer model, you can add a field in the Question model called "accepted_answer," which represents the accepted answer for that question. Here's an improved version of the sentence:
"In the Question model, include a field named 'accepted_answer' to represent the one-to-one relationship with the Answer model, indicating the accepted answer for the question".


Now we can save and deploy our model.
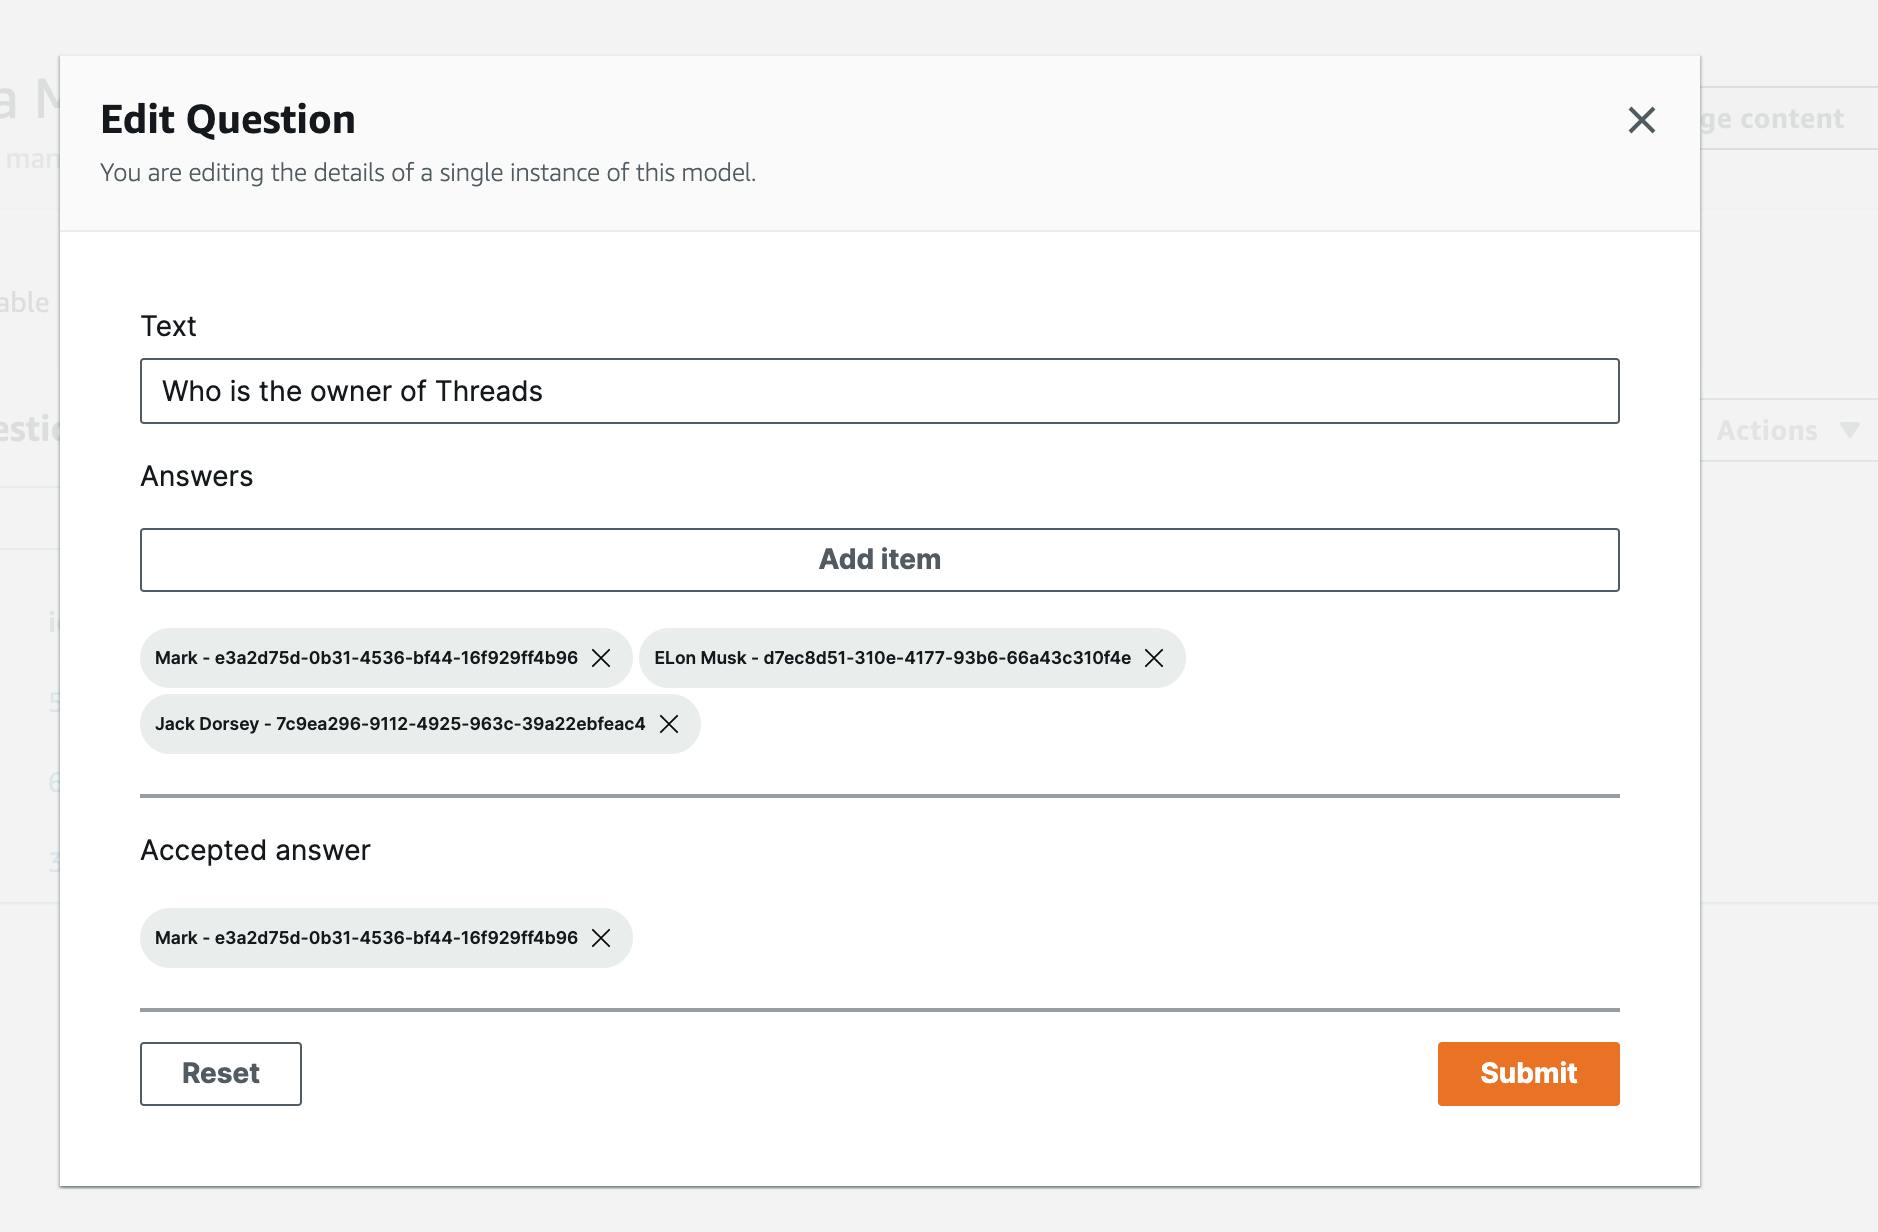
Creating Content
In this section, we will provide questions and a list of answers to the model we design above.
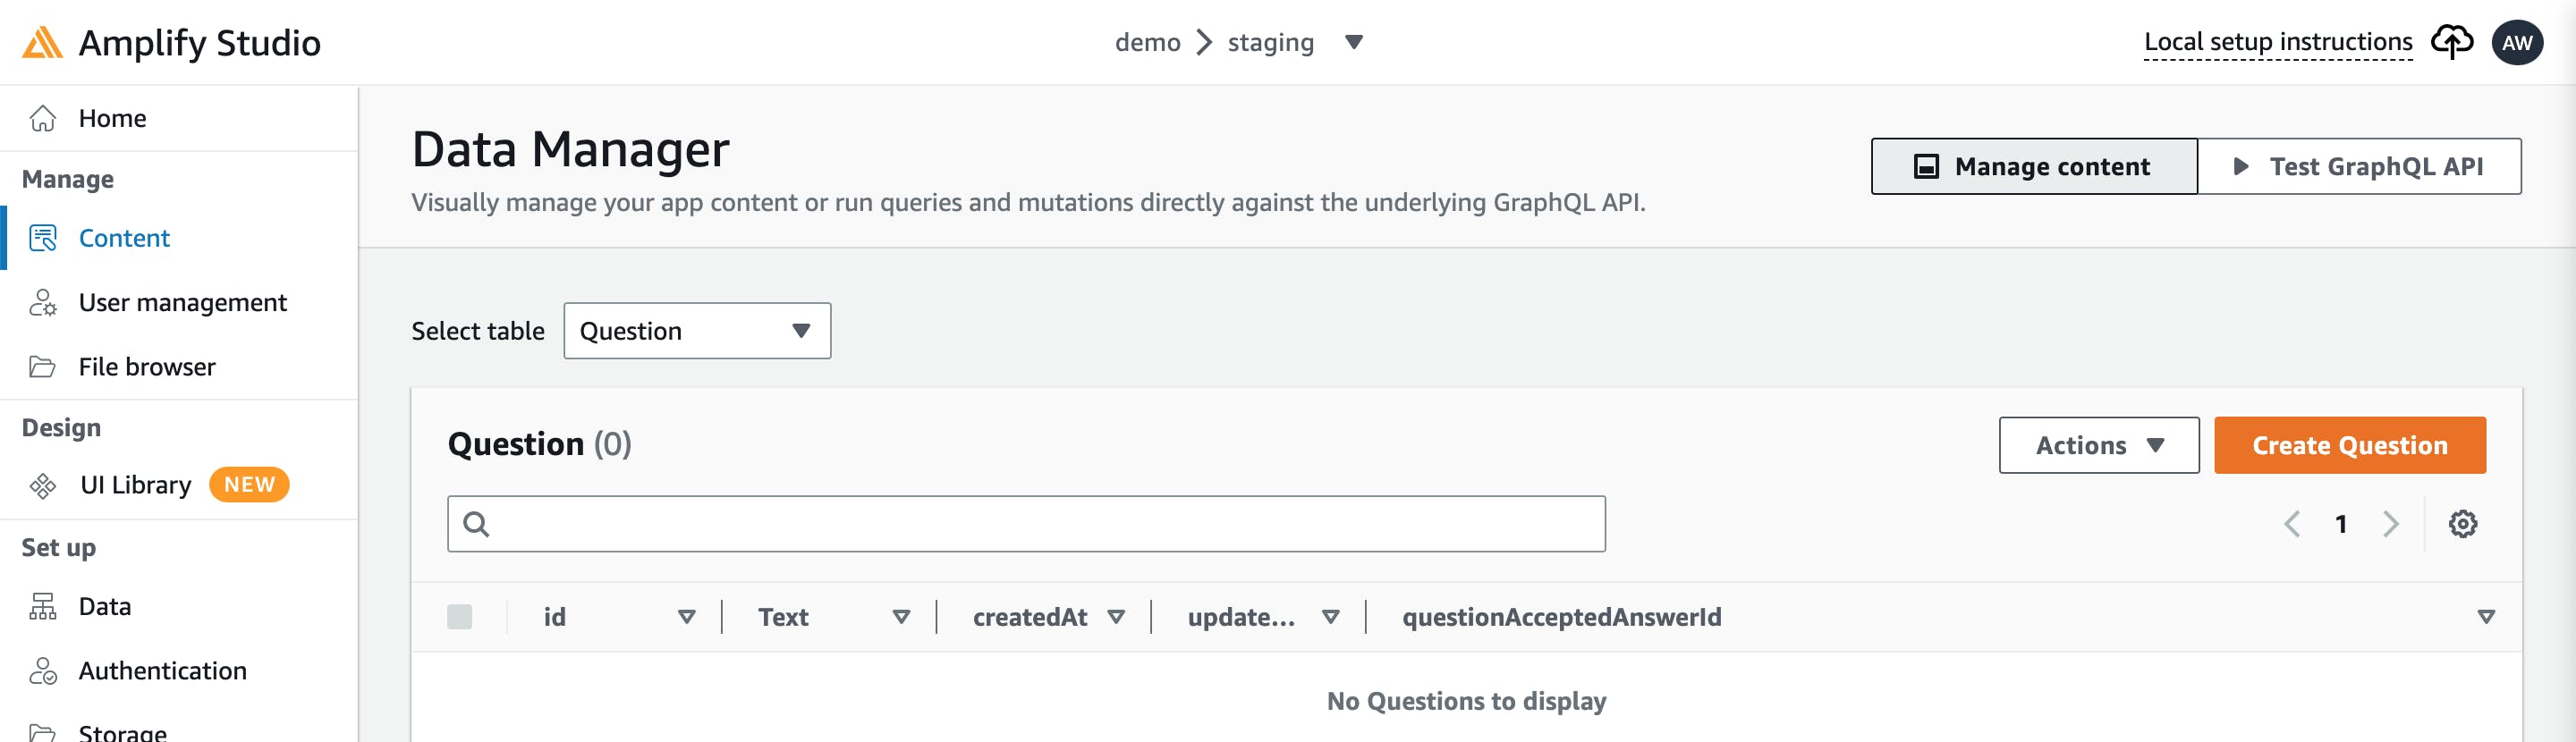
Here will provide some typical questions:
Who is the owner of Twitter
Who is the Owner of Threads
The Capital of the USA

- Do the same for the Answer model and provide answers to its question.
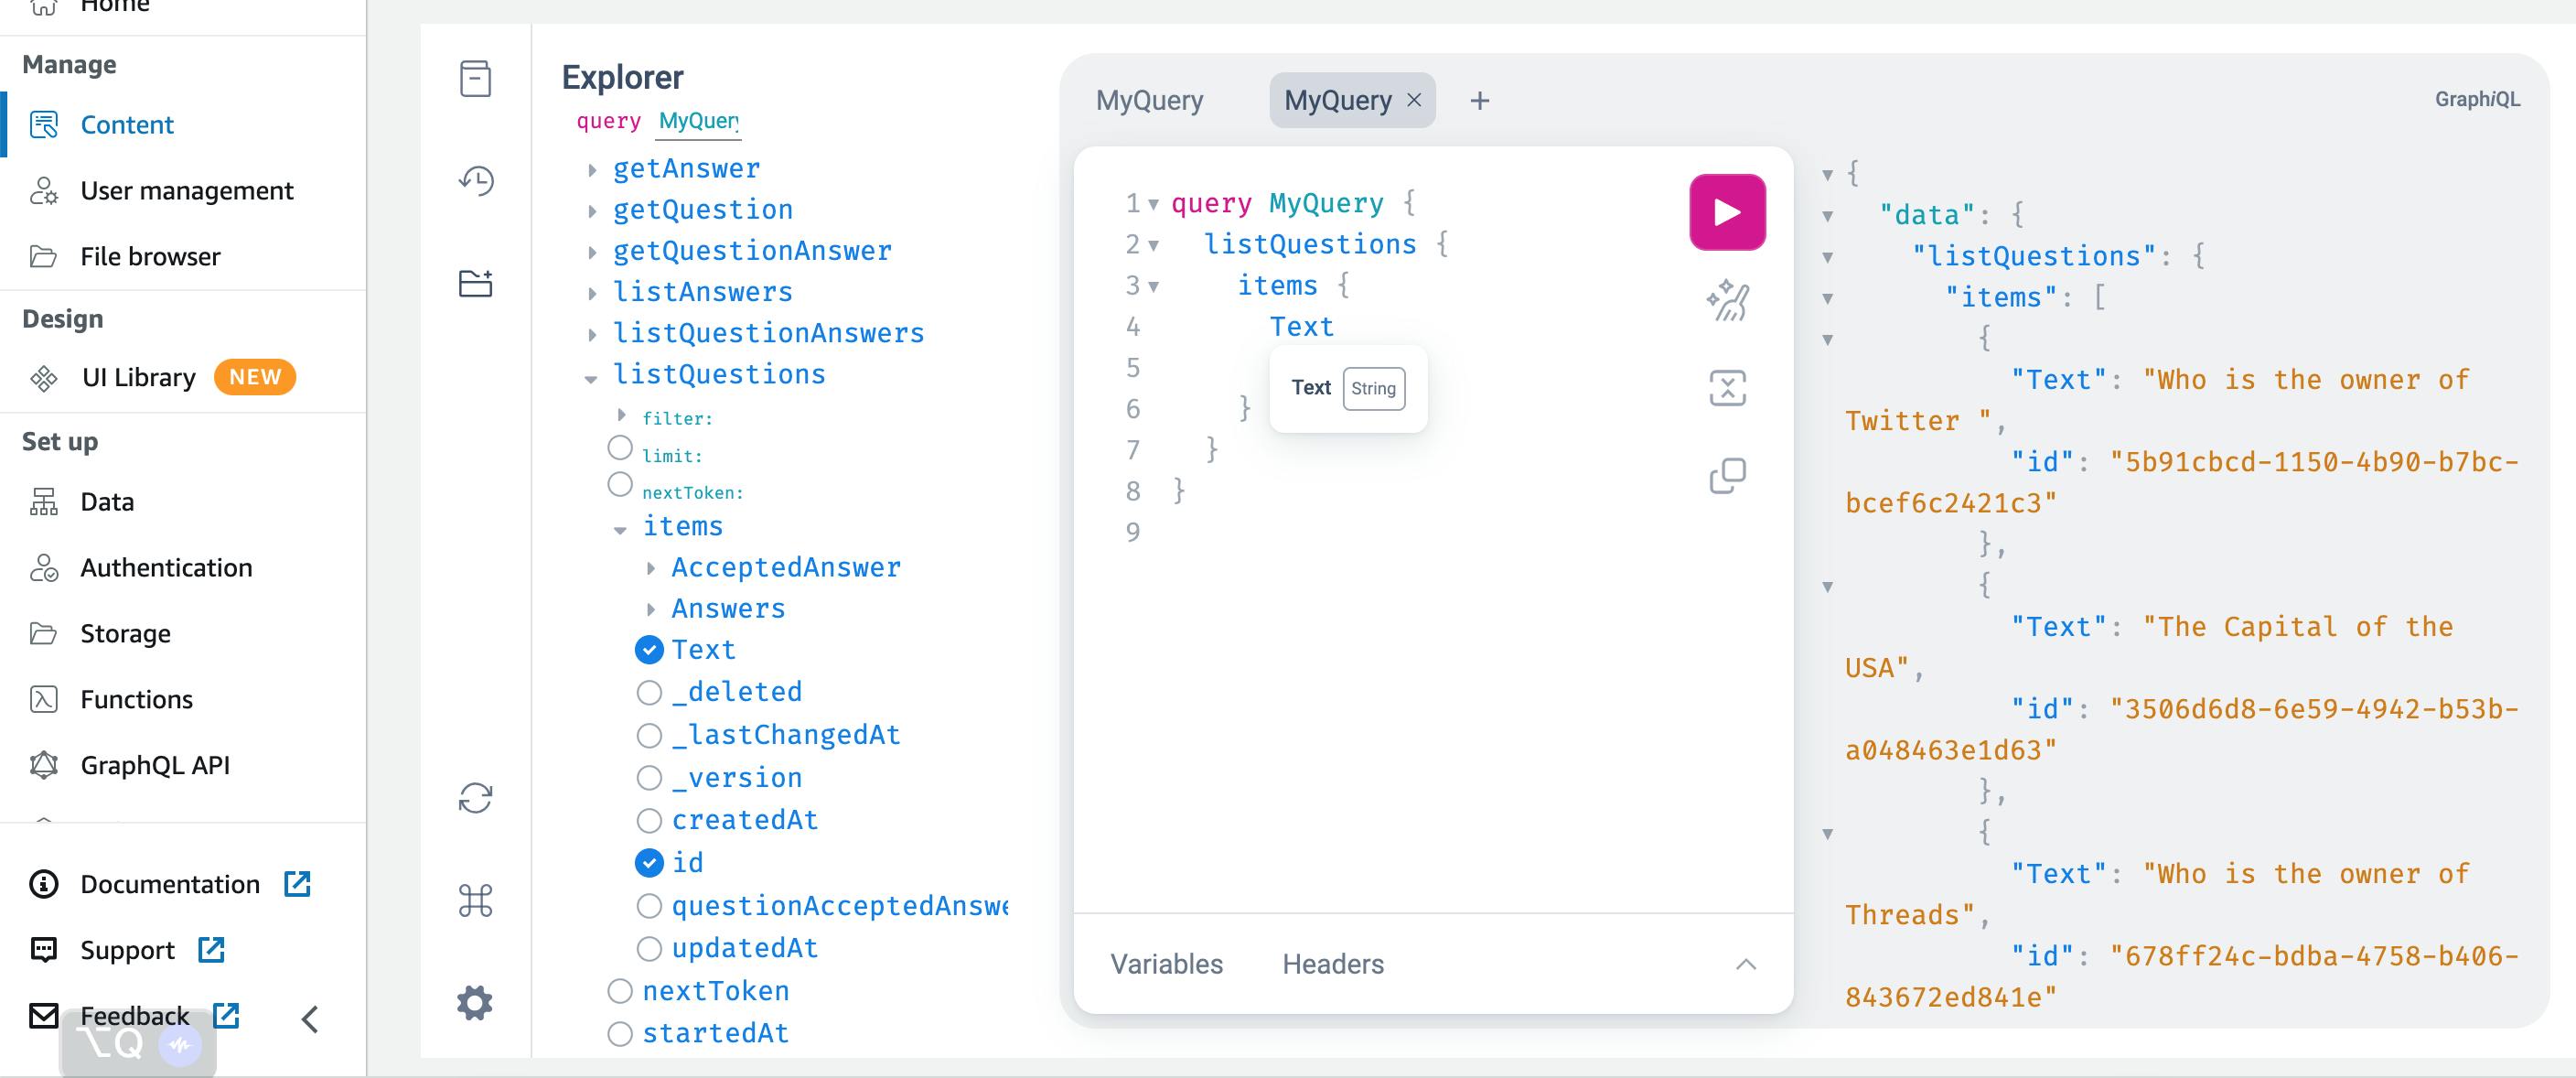
- Test your query with the available Graphql editor provided in the studio
Good news we are finally done with the backend but we need to set up the app authentication to verify users.
Under the Authentication section, you can set up the email, password, username, and more to authenticate users. After the setup is complete, we deploy the Authentication. Copy to the configuration command to set up the client side.
The next part of this tutorial is the Client setup here will use Nextjs framework for our client-side but you can use any other Frontend framework of your choice.
Developing the Frontend
After successfully setting up your Frontend with NextJs doing the necessary configuration run npm i @aws-amplify/ui-react aws-amplify in the CLI and npm i @aws-amplify/cli -g plus the authentication code we copied earlier to set up AWS Amplify in your project.
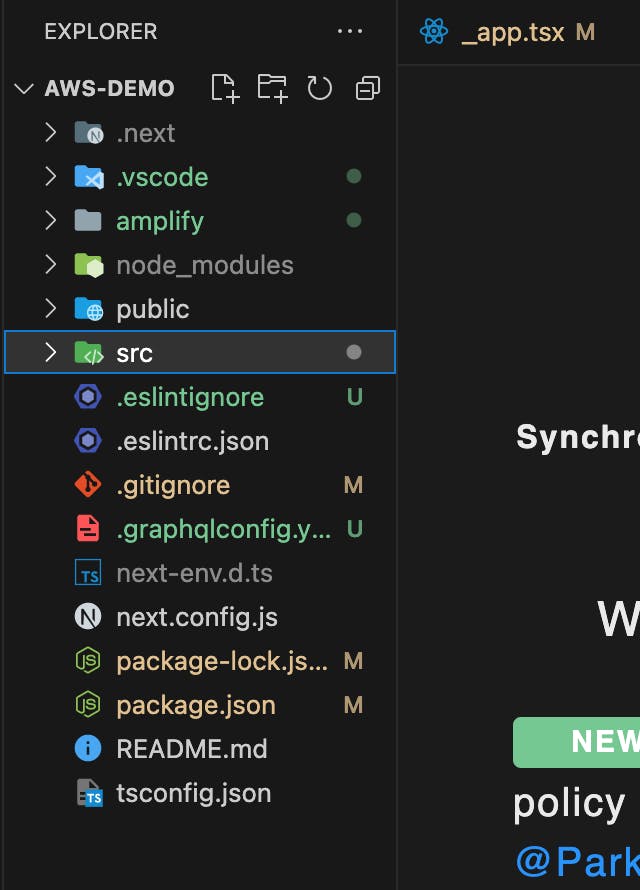
Your project structure should look like this:
- run
amplify codegen addto generate the Graphql code for the app and APIs
Alright with the setup done let's build our interface for the project.
Building the user interface for quiz app screens
Create a component folder and add the file name quiz.tsx to the folder. Copy the line to code to the file.
import { API } from "aws-amplify";
import type { GraphQLQuery } from '@aws-amplify/api'
import { Dispatch, SetStateAction, useEffect, useState } from "react";
import { Button, Flex, Grid, Heading, View } from "@aws-amplify/ui-react";
import { listAnswers } from "@/graphql/queries";
import { ListAnswersQuery,QuestionAnswersByAnswerIdQuery } from "@/API";

export default function({
    question,
    id,
    correctAnswer,
    questionNumber,
    setScore
}:{
    question?:String,
    id?:String,
    correctAnswer?: String,
    questionNumber: number,
    setScore: Dispatch<SetStateAction<number>>
}){

    const [answers, setAnswer] = useState<GraphQLQuery<ListAnswersQuery>>()
    const [disabled, setDisabled] = useState(false);

    const grabData =async () => {
        const { data } = await API.graphql<GraphQLQuery<QuestionAnswersByAnswerIdQuery>>({
             query: listAnswers,
             variables: { questionId: id }
        })
        console.log("data", data);
        setAnswer(data);
    }

    useEffect(()=>{
        grabData();
    },[])

    const onClick = (id?: string) => {
        const isCorrect = id === correctAnswer;
        setDisabled(true);
        if (isCorrect) {
          setScore(prevValue => {
            return prevValue + 1;
          });
        }
      };

    return(
        <Grid gap="2rem" >
            <Heading level={3}>
                Question {questionNumber}: {question}
            </Heading>
            <div>Select The Correct Answer:</div>
            <Flex direction="column" isDisabled={disabled} className="answer-grid">
                {answers?.listAnswers?.items.map(answer => (
                <Button key={answer?.id} onClick={() => onClick(answer?.id)}>
                    {answer?.Text}
                </Button>
                ))}
            </Flex>
        </Grid>
    )
}
- Modify the
_app.tsxcode in the page directory in your project with the code below.
import '@/styles/globals.css'
import type { AppProps } from 'next/app'
import { Amplify } from 'aws-amplify'
import { withAuthenticator } from '@aws-amplify/ui-react'
import awsExports from '@/aws-exports'
import '@aws-amplify/ui-react/styles.css';


Amplify.configure(awsExports)

function App({ Component, pageProps }: AppProps) {
  return <Component {...pageProps} />
}

export default withAuthenticator(App);
- Add this to the
index.tsx
import Head from 'next/head'
import { Inter } from 'next/font/google'
import styles from '@/styles/Home.module.css'
import Quiz from "@/components/quiz";
import { Button, Flex, Heading } from "@aws-amplify/ui-react";
import { useAuthenticator } from "@aws-amplify/ui-react";
import type { GraphQLQuery } from "@aws-amplify/api";
import { useEffect, useState } from "react";
import { ListQuestionsQuery } from "@/API";
import { listQuestions } from "@/graphql/queries";
import { API } from "aws-amplify";

const inter = Inter({ subsets: ['latin'] })

export default function Home() {
  const { signOut } = useAuthenticator(context => [context.signOut]);
  const [score, setScore] = useState(0);
  const [questions, setQuestions] =useState<GraphQLQuery<ListQuestionsQuery>>();
  const grabData =async () => {
    const { data } = await API.graphql<GraphQLQuery<ListQuestionsQuery>>({
      query: listQuestions
    });
    setQuestions(data);
  }

  useEffect(()=>{
    grabData();
  },[])

  return (
    <>
      <Head>
        <title>Create Next App</title>
        <meta name="description" content="Generated by create next app" />
        <meta name="viewport" content="width=device-width, initial-scale=1" />
        <link rel="icon" href="/favicon.ico" />
      </Head>
      <main className={`${styles.main} ${inter.className}`}>
      <Flex direction={"column"} alignItems={"center"}>
      <Heading level={1}>Quiz App - Current Score: {score}</Heading>

      {questions?.listQuestions?.items.map((question, idx) => (
        <Quiz
          key={question?.id}
          id={question?.id}
          question={question?.Text!}
          correctAnswer={question?.questionAcceptedAnsId!}
          questionNumber={idx + 1}
          setScore={setScore}
        />
      ))}
      <Button onClick={signOut} variation="warning">
        Sign Out
      </Button>
     </Flex>
      </main>
    </>
  )
}
Once you have completed the development of the quiz application, running it is as simple as entering the command npx run dev in your terminal.

Conclusion
Now we have successfully developed our quiz application in record time with no stress developing the backend logic, we can make the app user-friendly by adding a timer or hint to our question. Comments are certainly appreciated. If there are questions, I will try my best to answer them. I hope this was informative and thank you for sticking right on till the end.